
1. Drying (optional)
By pre-drying the PLA in the AIRID polymer dryer, or a different drying solution you might have at 80 °C for 4 hours, the output from the extruder will be more stable. This means that the diameter of the filament will be more stable. By skipping this step, you will still be able to produce a good quality, printable spool of PLA, but this will just enhance its quality. If you are drying, do this right before extrusion, otherwise the material will absorb moisture from the air again in the meantime.
2. Place the machine in a stable environment
If the machine is placed in a room with a lot of temperature changes, wind, etc..., this makes it more difficult for the process to stabilize. Also make sure no one touches the machine while it is running 😉.
3. Use the optimal extrusion settings
If you found your own settings that work well for the material, well done! If not, you can select a PLA preset which can be found by navigating through the ' main menu' > ' material presets'. These work well for this grade of PLA. If you are processing a different type of PLA you might have to modify the settings. Also, make sure the cooling fans are pointed downwards, so they don’t blow directly on the nozzle!
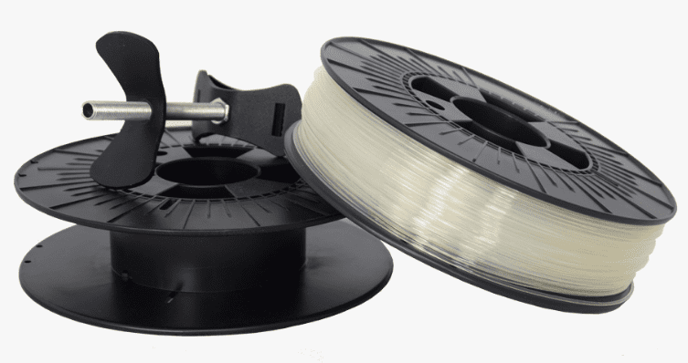
4. Prepare the spool correctly
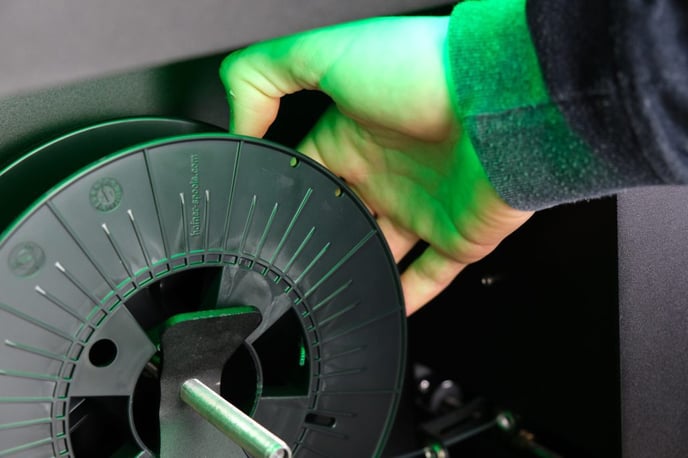
Make sure the spool holder is tightened all the way, so it is stuck on the spool and it does not slip.
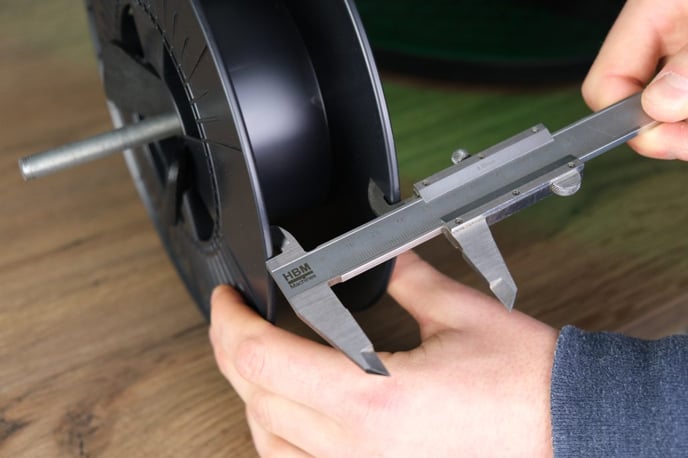
5. Use the optimal spooling settings
Measure the spool inner and outer diameter and adjust these values in the ‘ settings’ menu.
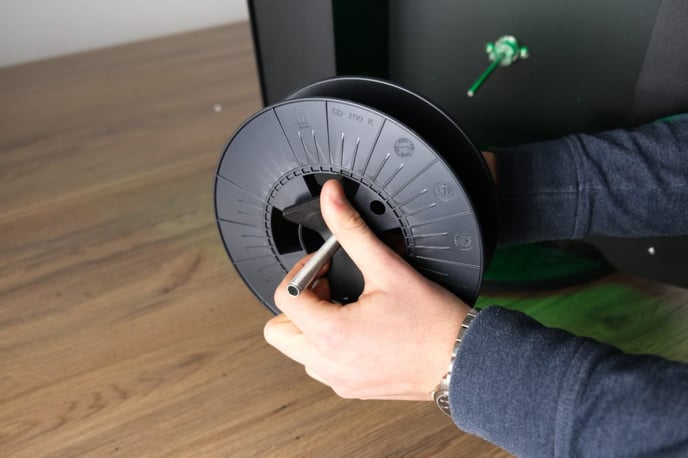
Then go back to the ' main menu', go to ‘ spooling’, then ‘ positioner settings’, and dial in the width of the spool, measured as in the picture below.
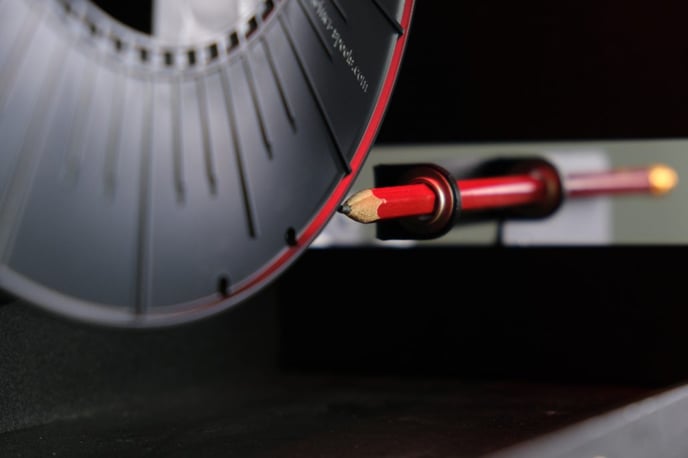
Now we must check if it is setup correctly, by clicking ‘ preview right position’. Now the positioner should move to the right, and by looking through the positioner rings, or placing a pencil through them, you can check if the positioner is aligned properly with the inner side of the spool. If this is not the case, adjust ‘right position’, preview it again and repeat this process until it aligns.
Now click ‘ preview left position’, and here the positioner should line up as well. If it doesn’t, adjust ‘ spool width’ and preview the position again until it aligns.
Slipper clutch
After attaching the spool, it's important to set up the optimal tension. The spooling speed is based on the dimensions of the spool, and the speed of which filament is produced. However, if it rotates slightly faster to keep tension on the filament. To prevent the spool from pulling too hard on the filament, a slipper clutch is installed. If the tension is too high, it will simply slip.
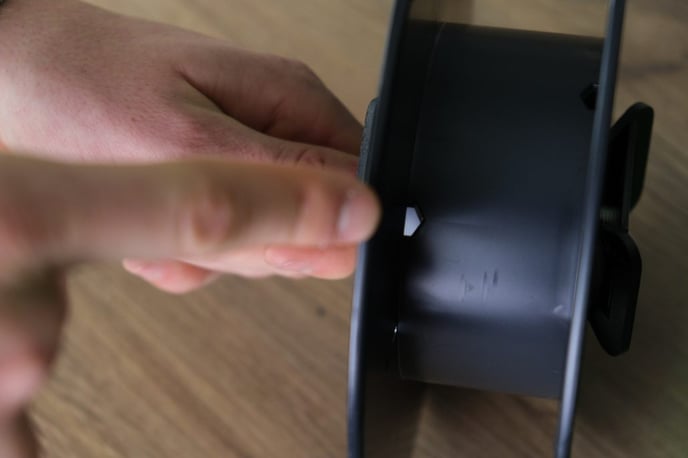
This tension can be determined with the black knob on the back of the machine. The tension is setup correctly if the spool can be simply stopped by gently pushing your finger against it. As the default set up, we recommend tightening the slipper clutch as much as possible then loosening it 2 rotations.
6. Make sure the first windings are neat
By following the spooling wizard on the machine carefully, you will probably manage to start the spooling process properly. It is very important to only follow the steps in this wizard, and not work ahead of it.
a. Wait for the output to be stable enough. If you are satisfied, you may press continue.
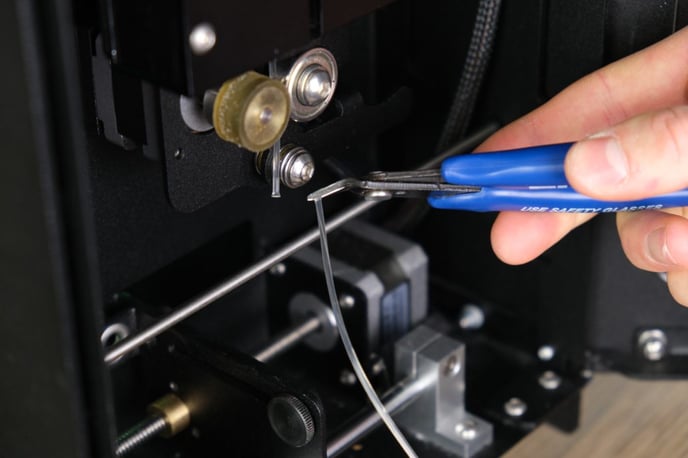
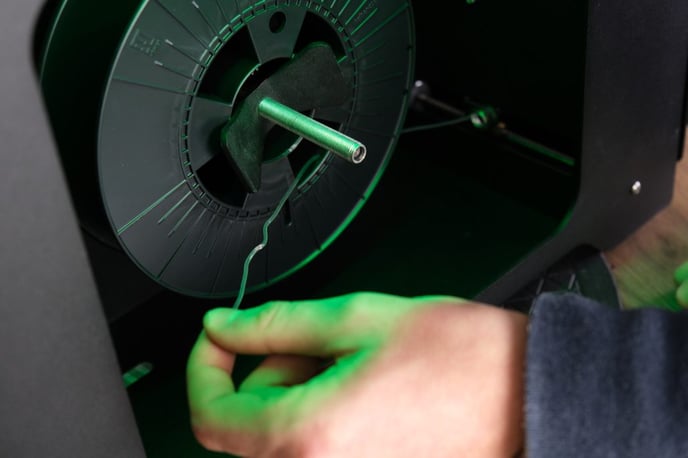
b. Cut off the filament as close to the puller wheels as possible and guide it through both rings of the positioner. Remember to keep pulling on the filament to remain the tension on it.
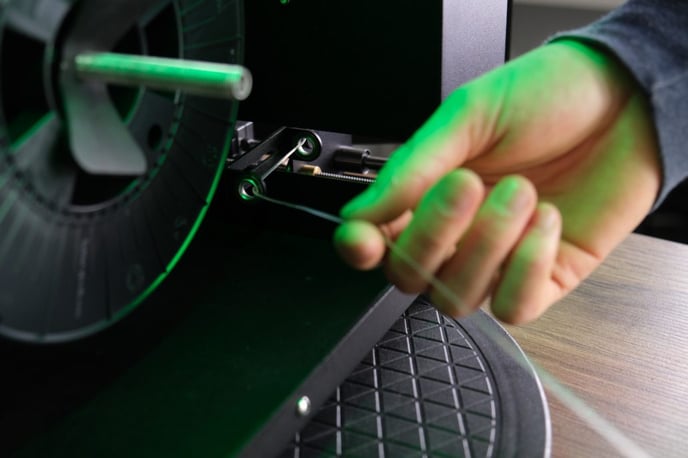
c. Locate the hole on the spool that you will pull the filament through, to attach it to the spool. Ideally this hole should be on the side facing you (left side if you stand in front of the machine), and as close as possible to the inner diameter/axis. This is the point where the first winding starts.
d. Pull the filament through the hole, and make sure the line is under tension. Then press continue, while still holding the filament.
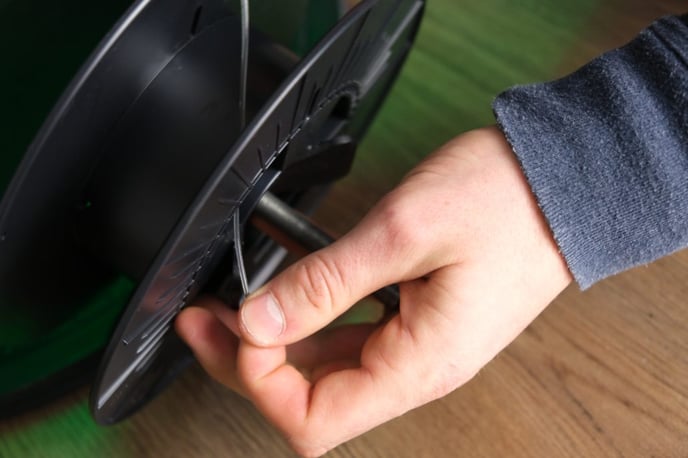
If you have a hard time guiding the filament through the hole, it can help to take out the spool, and once you have pulled it through, place back the spool on the shaft.
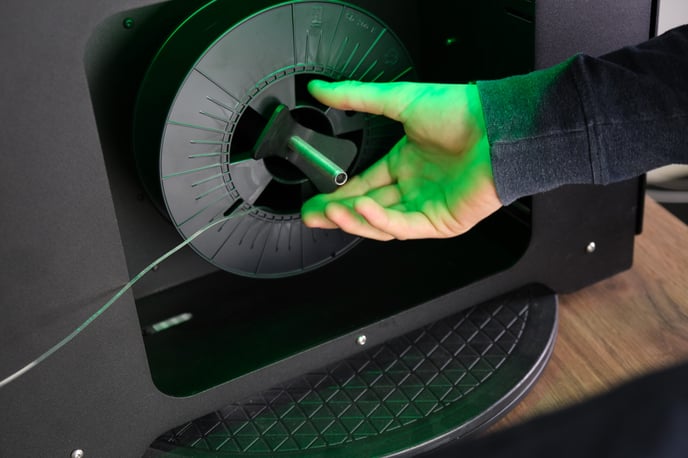
Make sure the spool is placed properly on the shaft, all the way until you feel a magnet keeping it in place.
e. Now the spool is building up tension, by rotating faster than it should. This makes sure the first few windings are tight. If the spool made at least 2 revolutions, you can press continue.
7. Close the door
Closing the door of the Filament Maker minimizes external influences, such as drafts in the room.
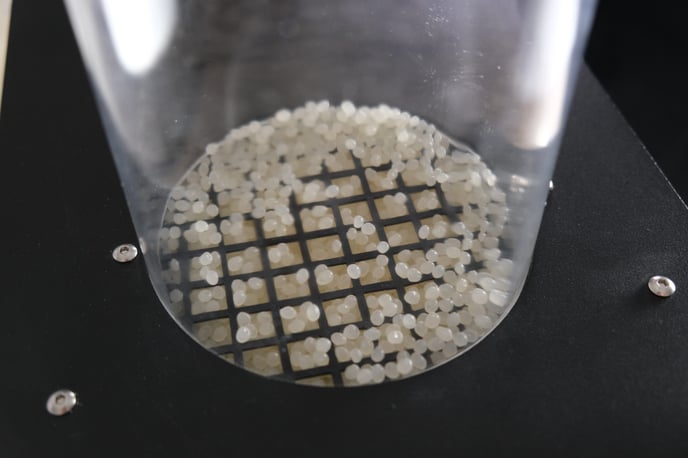
8. Keep the hopper filled
If the hopper gets empty, this has an influence on the output of the extruder. Make sure the level stays well above the sensor in the hopper, but by making sure the level of filling stays around or above the grid (as in the picture below), you will get the most consistent output.
9. Don't disturb the process
Touching the filament while it is extruding can temporarily destabilize the process.
10. Keep an eye on the machine
The machine is not designed to be left unattended for too long. It is recommended to check the machine every 20 minutes, also depending on how stable the process is running, and how much experience you already have with the machine.
Also be aware that the machine does not automatically stop when the spool is full, so if you leave it running, it will create a massive blob in the front at a certain moment.
And that is how to make a perfect spool of PLA! If you have any questions, or would like to optimize even more, don’t hesitate to contact support.