How to set up The Feeder
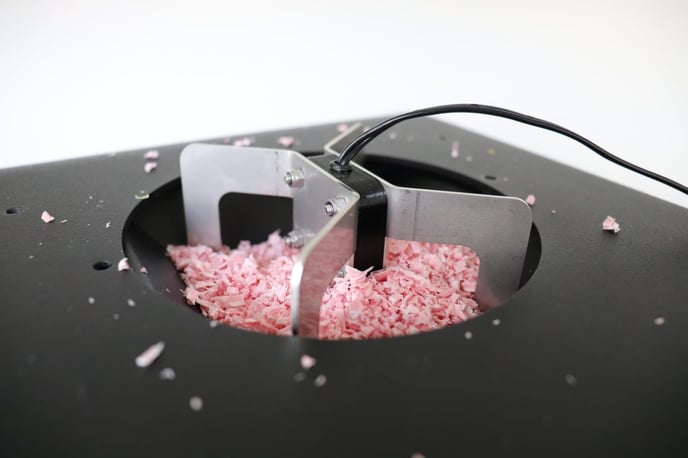
The Feeder ensures proper feeding of materials with difficult shapes, such as shredded regrinds, flakes and powders.
Through vibratory pulses, the Feeder prevents any ratholing, caking, or bridging from occurring. These issues are especially common when working with recycled plastics since the particle shape is often rougher and less homogeneous. By breaking any cohesive structure in the hopper, the Feeder guarantees a faster, more stable flow.
Setting up the Feeder
After removing the safety grid (more information below), simply
- place the Feeder inside the Hopper
- connect it to a power supply, and it will turn on

Removing the Safety Grid
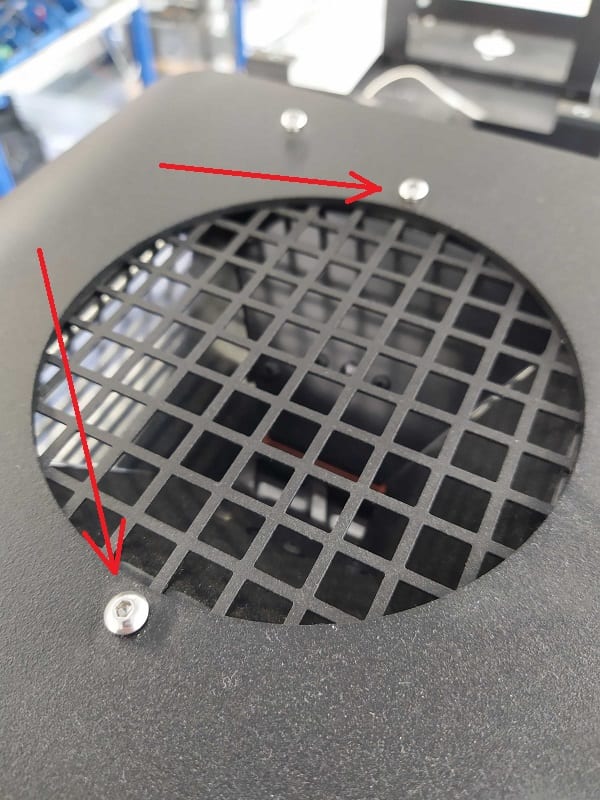
To be able to place the Feeder this way, you will have to remove the grid. This can be done by removing the two bolts indicated by the red arrows in the picture below, and then sliding away the grid.
Caution!
Make sure not to drop the bolts into the extruder!
It's a hassle to take them out, but can be done carefully with a magnetic rod, needle-nose pliers, or tweezers.
In some cases it might happen that the grid is still quite stuck, even after removing the two bolts. In that case it helps to remove other bolts from the top panel, so it becomes a bit more loose.

