Troubleshooting: when the shredder SHR3D IT won't start
This page describes possible solutions that may apply when the SHR3D IT does not start up.
Article Overview
Power
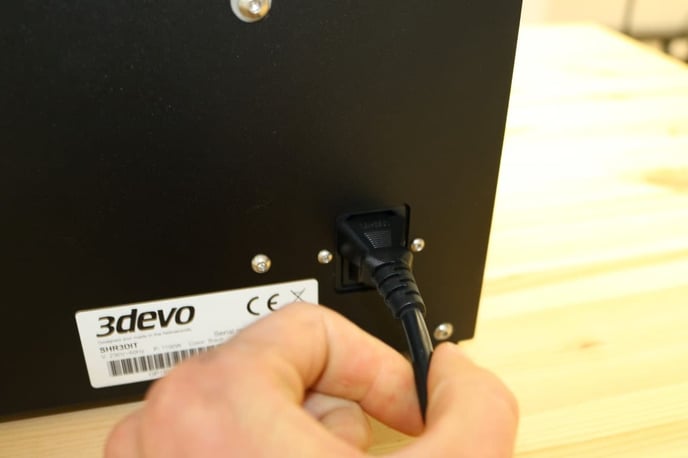
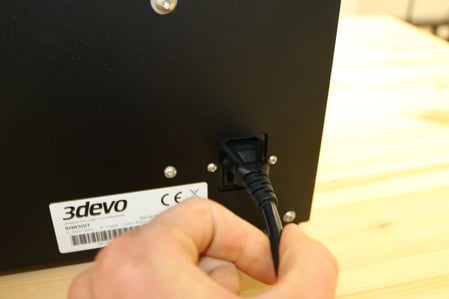
Check if the voltage (230V or 110V) in your power socket corresponds to that of the purchased product. Consult the sticker on the back of the machine.
- Is the power cable inserted into the power socket?
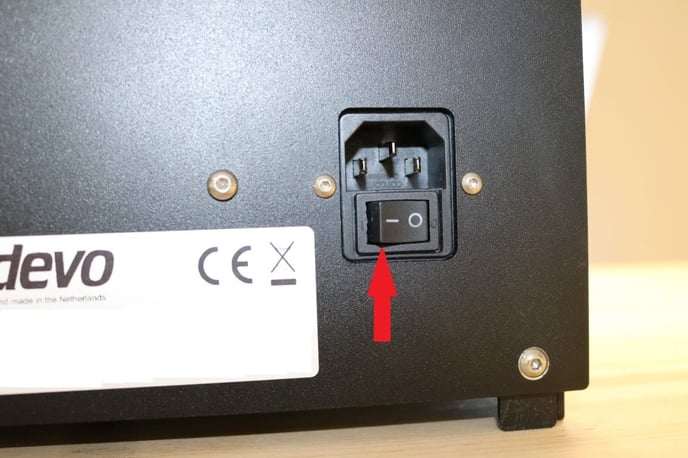
- Is the power switch on the back switched on "I"?
 |
 |
Emergency Button
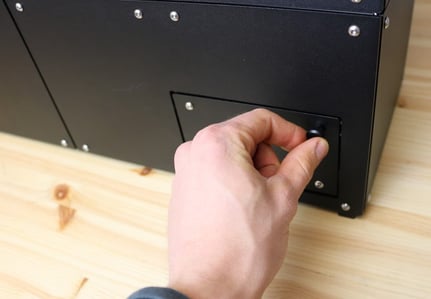
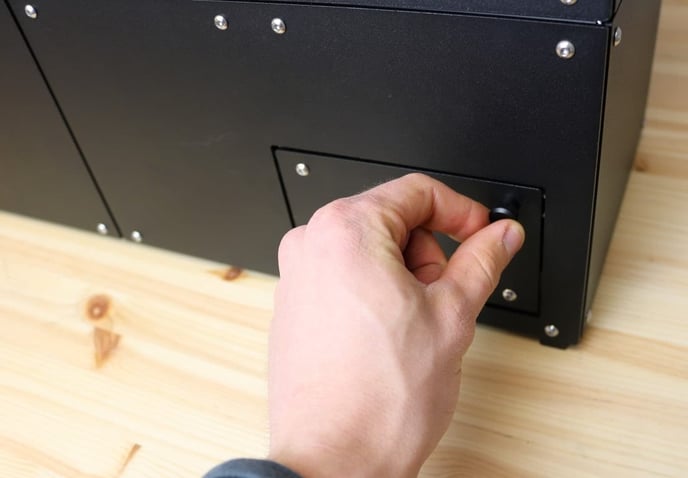
- Has the emergency button been pressed?
If it has, even by accident or when the machine is off, the button needs to be reset. Turn the emergency button clockwise to reset it.

Lights
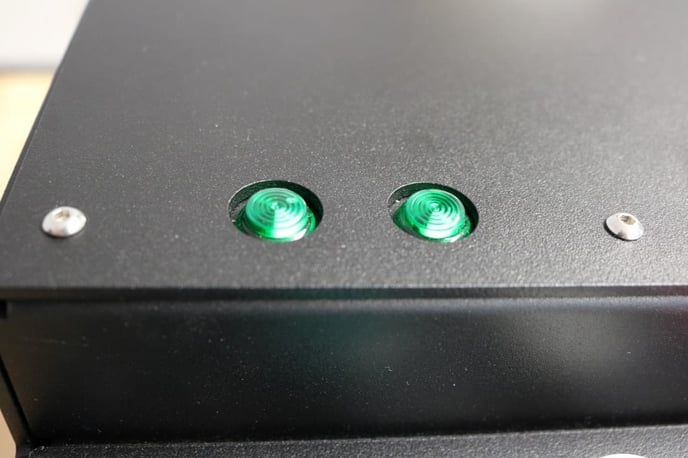
There are two indicator lights. When the light is off it indicates the following:
The left green light being off indicates "high temperature" causing the Shredder to shut down.
The right green light being off indicates "high motor current" and causes the machine to shut down.
- Do the two green indicator lights burn at the same time?
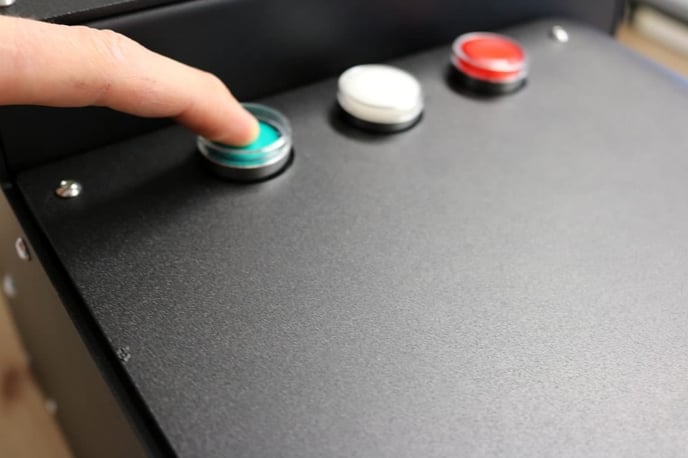
If so, press the green button down for one second to start the machine. It should work.
 |
 |
- If only one of them burns, then the Shredder is overloaded or the temperature of the motor has been too high. It's also possible that a blockage has occurred.
Blockage
- The high current indicator light (right) does not light up?
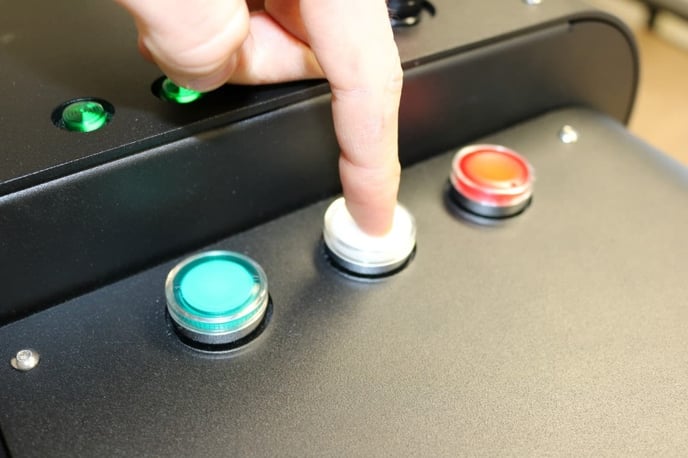
Check if the shredder is blocked.- press the red button down to stop the machine
- continue with pressing in the white button to reverse the shredder
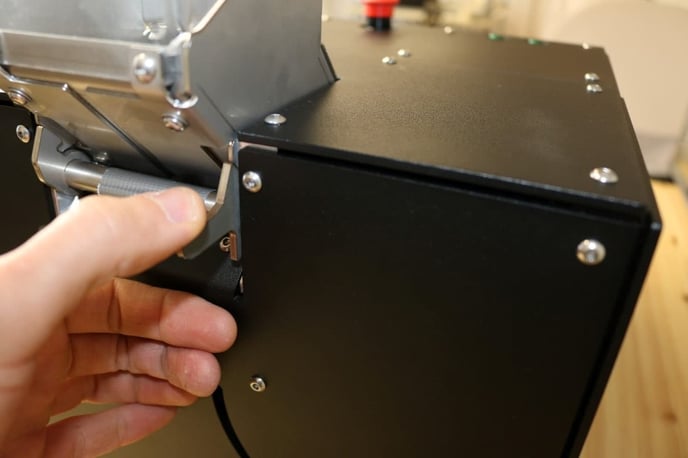
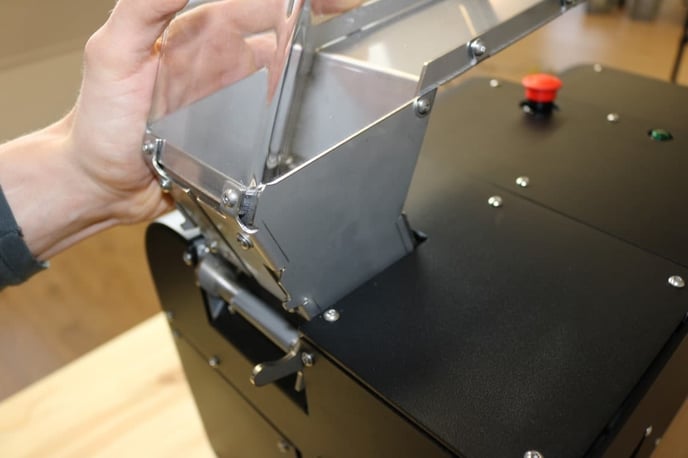
- remove the hopper and remove the blocking part
 |
 |
 |
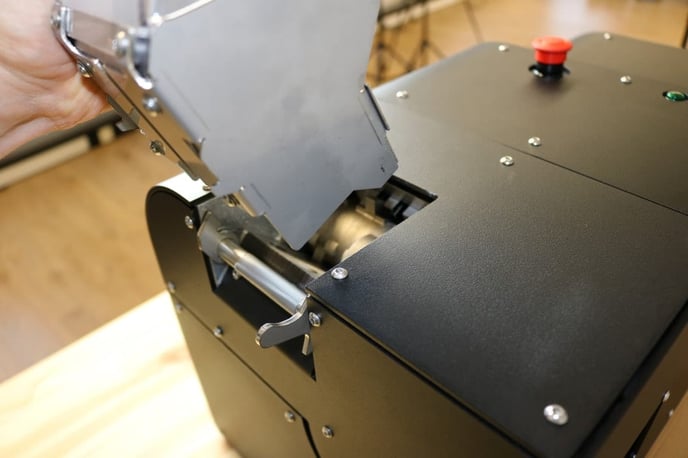 |
Put the hopper carefully somewhere where it will not be damaged.

Make sure the machine is turned off and the power plug is removed before proceeding with the next steps!
Always wear cutting proof hand protection when working with the granulator knives.
Remove all plastic that blocks the shredder.

Overheating
The high temperature light does not light up? Wait until the SHR3D IT has cooled down. This can take about 1 to 2 hours. Pull the power cable out of the power socket to reset the machine.
Interlock
- Is the interlock guard closed?
If not, close the interlock guard.
Hopper
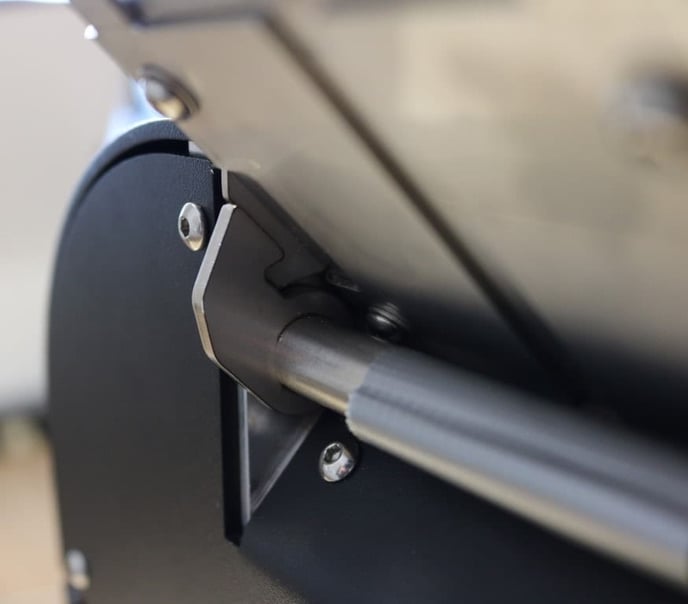
- Is the Hopper placed correctly on the SHR3D IT and do the hooks connect?
If not, pull the hopper locking lever backwards and slide the hopper into it.
 |
 |
Compartment
- Is the shredder compartment correctly closed?
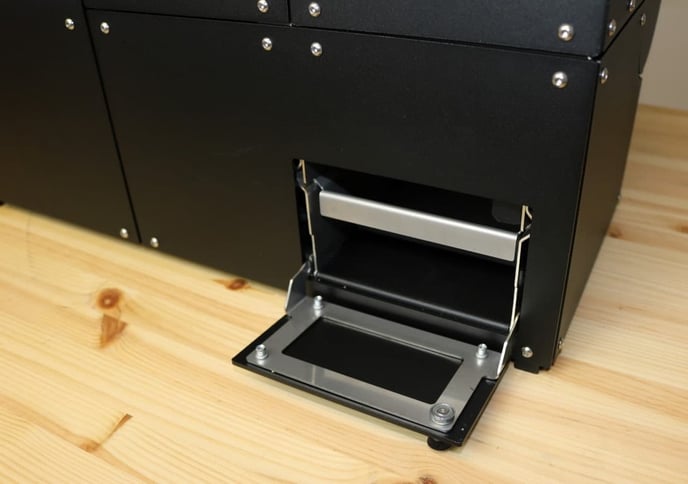
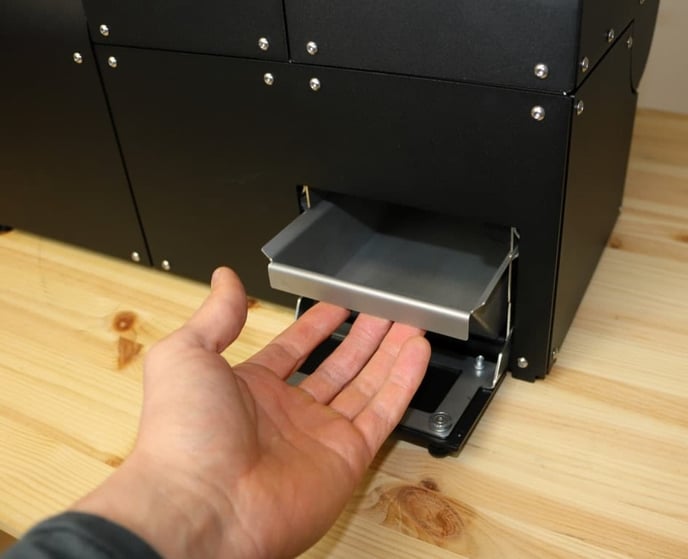
If not, open the interlock guard, remove the granulate collector and pull the clamping bracket to ensure that the shredder compartment is properly closed.
 |
 |
 |
 |
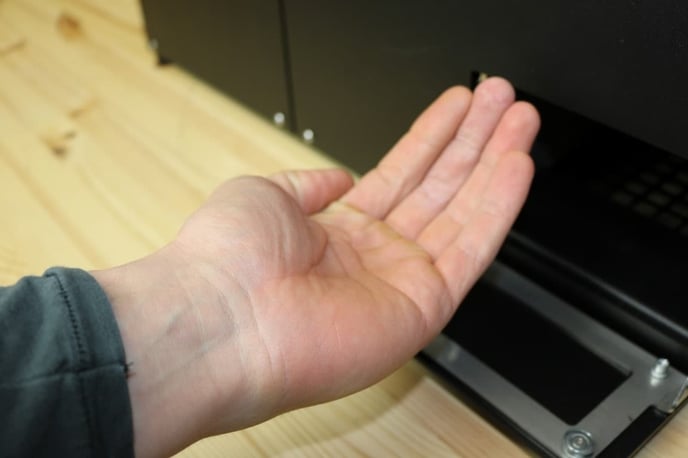
Place your fingers on the filter screen and press the clamping bracket with your palm to open the shredder compartment.
Make sure the machine is turned off and the power plug is removed before proceeding with the next steps!
 |
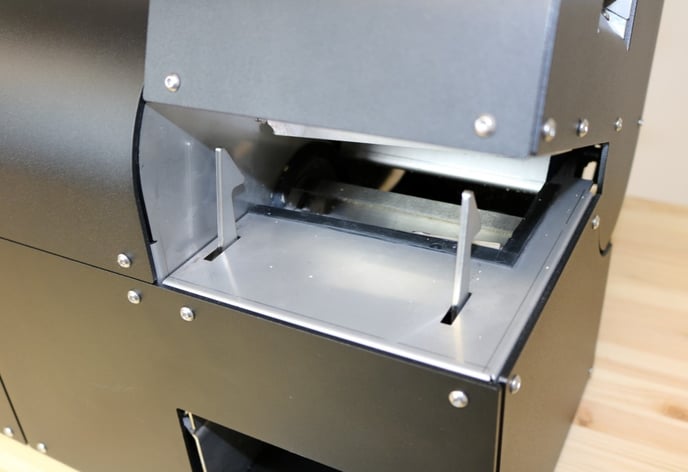 |
Now push the shredder compartment down again to close it properly.

Filter Screen
- Is the filter screen correctly mounted?
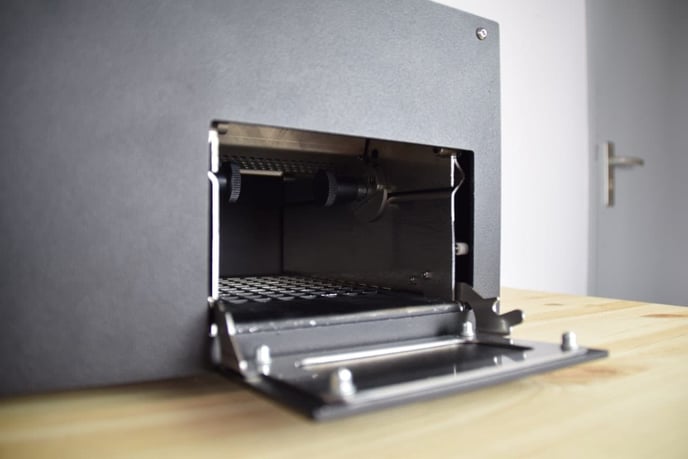
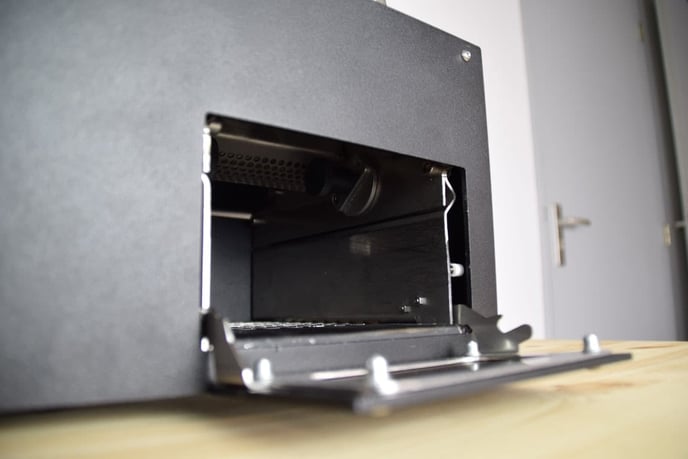
If not, open the shredder compartment and align the two slots on the shoulder bolts while the two index plungers are retracted. Then aim so that both plungers fall into the two holes. Both index plungers must be fully in the holes. Through the opening of the granulator blades you can check whether the filter screen is correctly mounted.

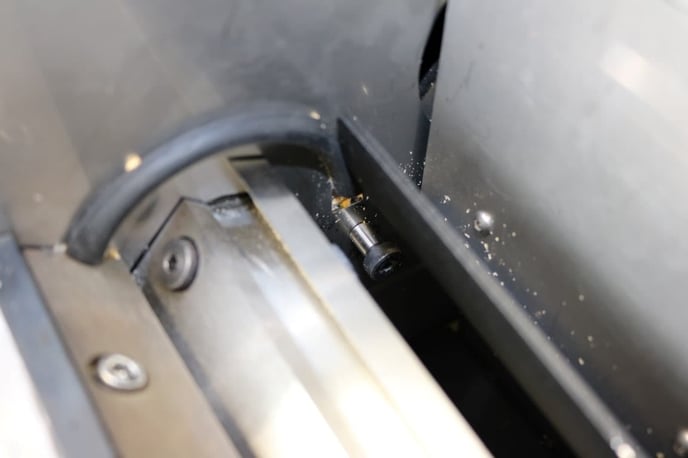 |
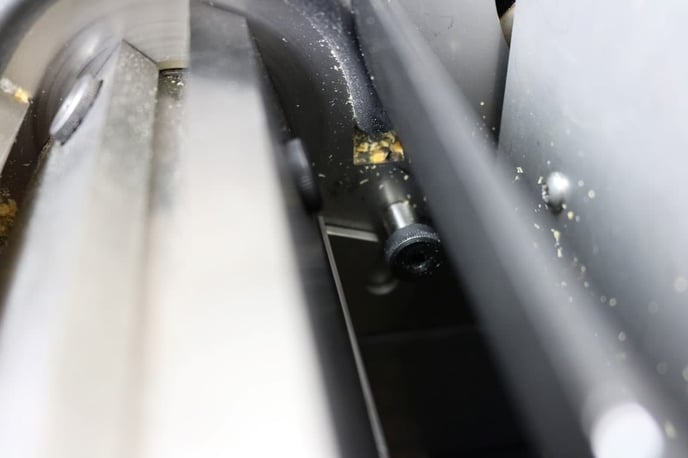 |
In the above to pictures:
- Left: the index plungers are not placed correctly, they have to be positioned higher.
- Right: the index plungers are positioned correctly.
Never use the Shredder compartment latch when the Filter screen is not installed.
 |
 |
Switch the main switch
It may happen that the machine does not start, and that you hear a switch that switches sound as soon as the green start button has been pressed for a second. It may be that the main switch has to be switched.
Make sure the machine is turned off and the power plug is removed before proceeding with the next steps!
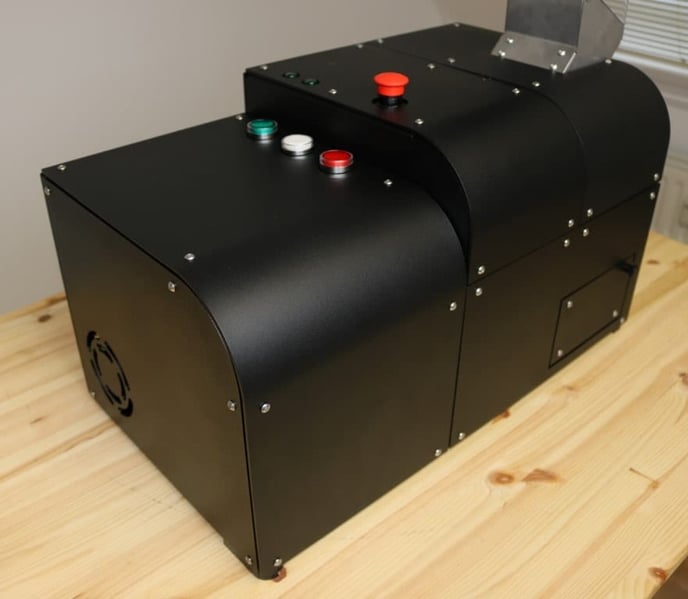
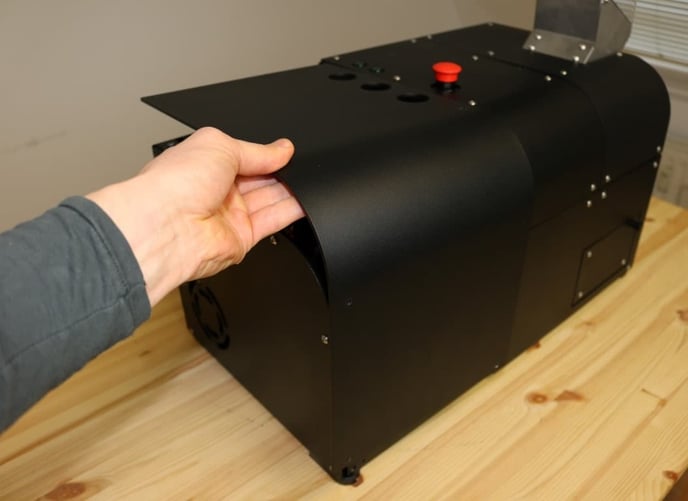
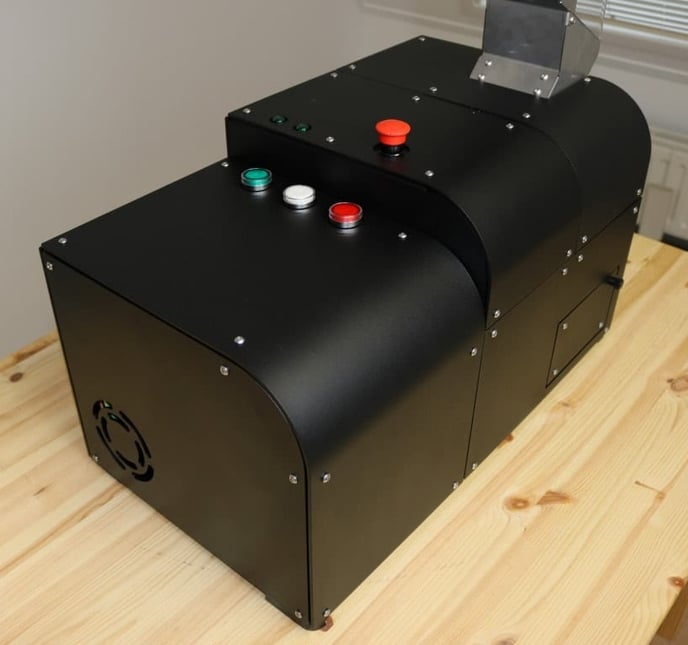
Loosen the 8 bolts so that the top cover can be removed.
 |
 |
 |
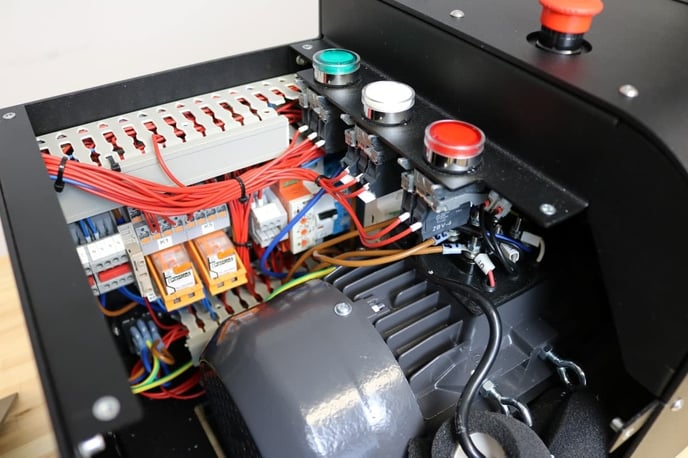 |
The main switch is here.
Switch it up by hand.

Never modify or manipulate any of the safety switches or other components of the machine, this can cause extremely dangerous situations.
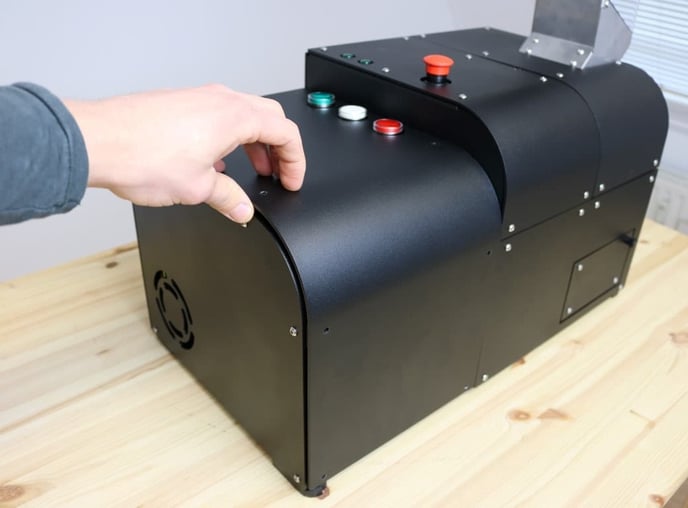
The top cover can be placed back on the machine and secured with the 8 bolts.
 |
 |
Check or replace the glass fuse
It may be that all parts of the shredder have been closed correctly but that the shredder is still not working. In this case it could be that the glass fuse has failed. Below you can read how you can measure and possible replace it.
Make sure the machine is turned off and the power plug is removed before proceeding with the next steps!
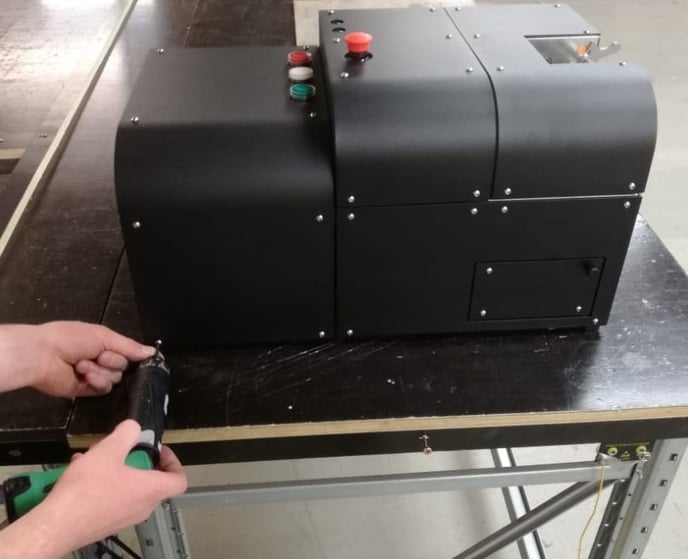
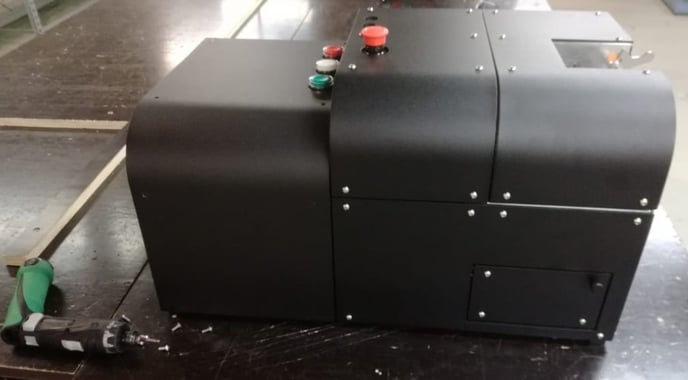
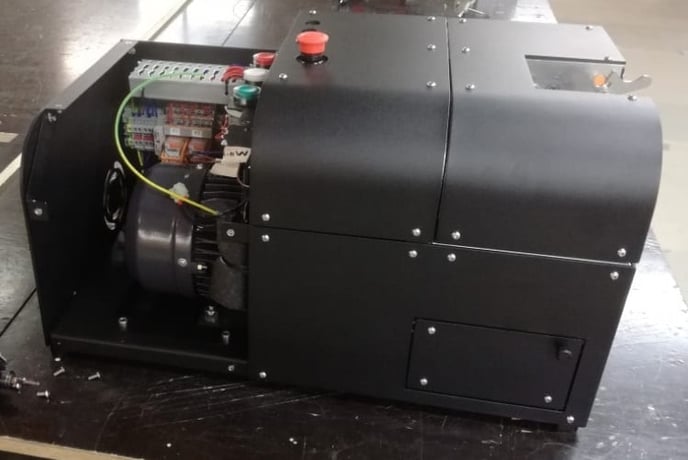
Loosen the 8 bolts so that the top cover can be removed.
 |
 |
 |
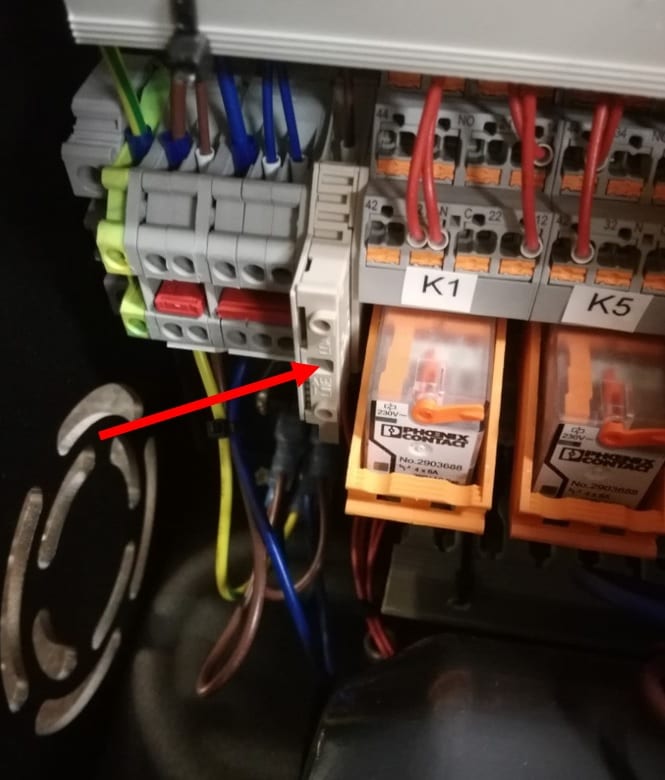 |
The glass fuse is located in the white plastic fuse holder, indicated with the red arrow.
Never modify or manipulate any of the safety switches or other components of the machine, this can cause extremely dangerous situations.
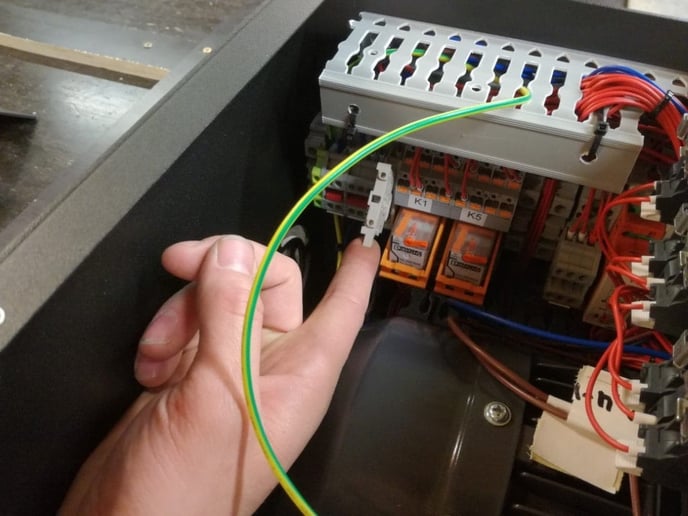
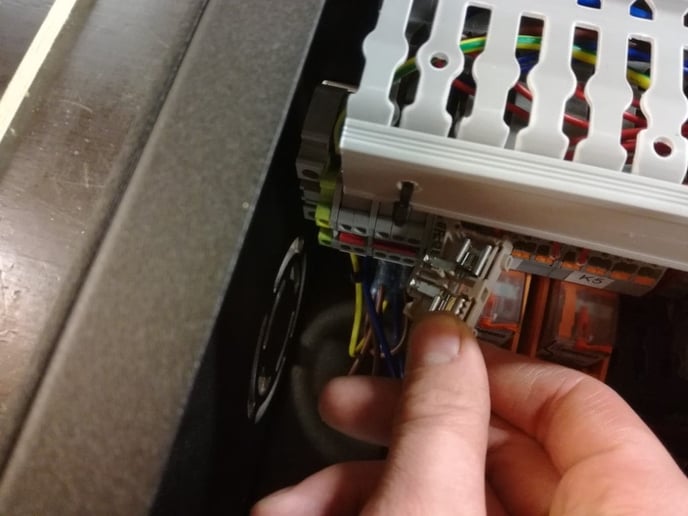
You can carefully tilt the fuse holder upwards and then tilt it through the top so that it comes loose.
 |
 |
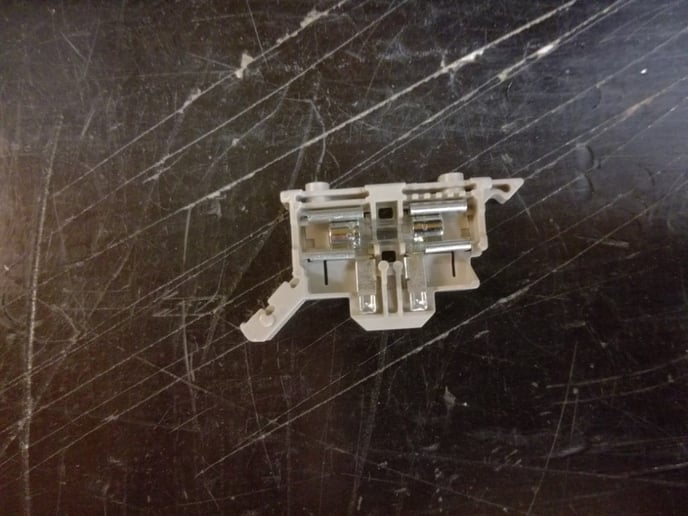
Carefully lay the part down on the table. By looking closely you can see whether the fuse is still intact or not. You can also use a multimeter to measure the resistance to find out whether the glass fuse is still intact or is defective.
 |
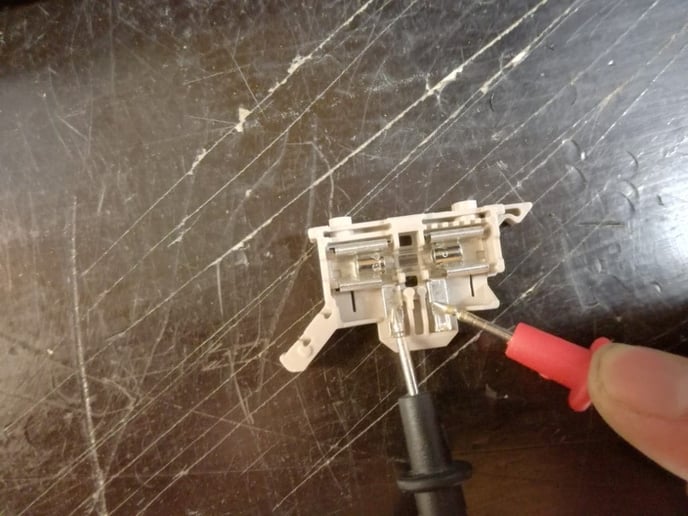 |
Here the multimeter indicates 1.9 - 2.0 Ω, indicating that this glass fuse is still intact. If the multimeter indicates that the glass fuse is defective, replace it. You can carefully click the defective one out and click the new one in. The fuse which is used is 200 mA, 250 V, 5mm x 20mm, 0.2" x 0.79", 217 Series.
 |
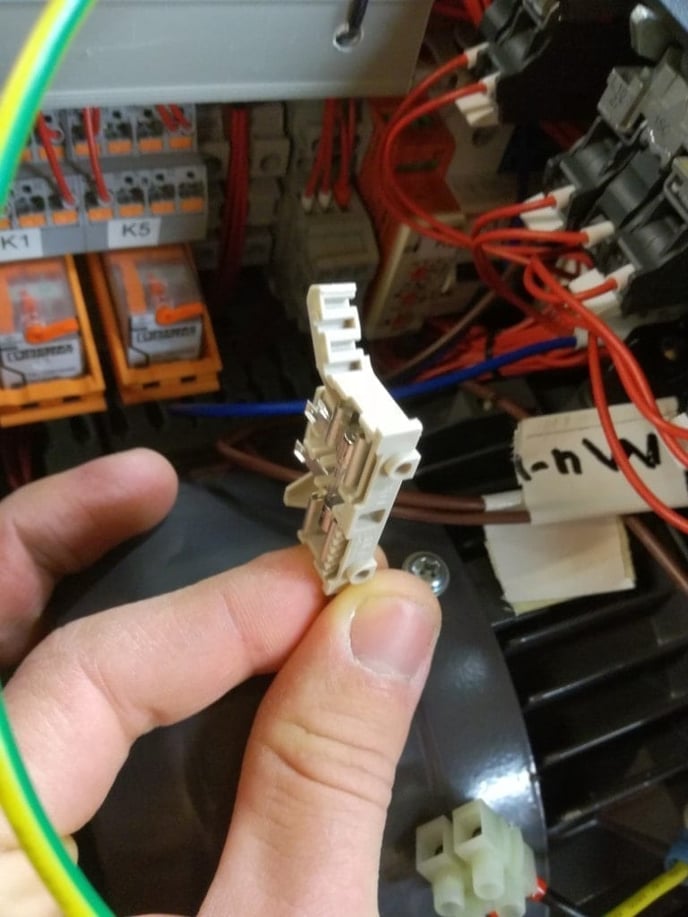 |
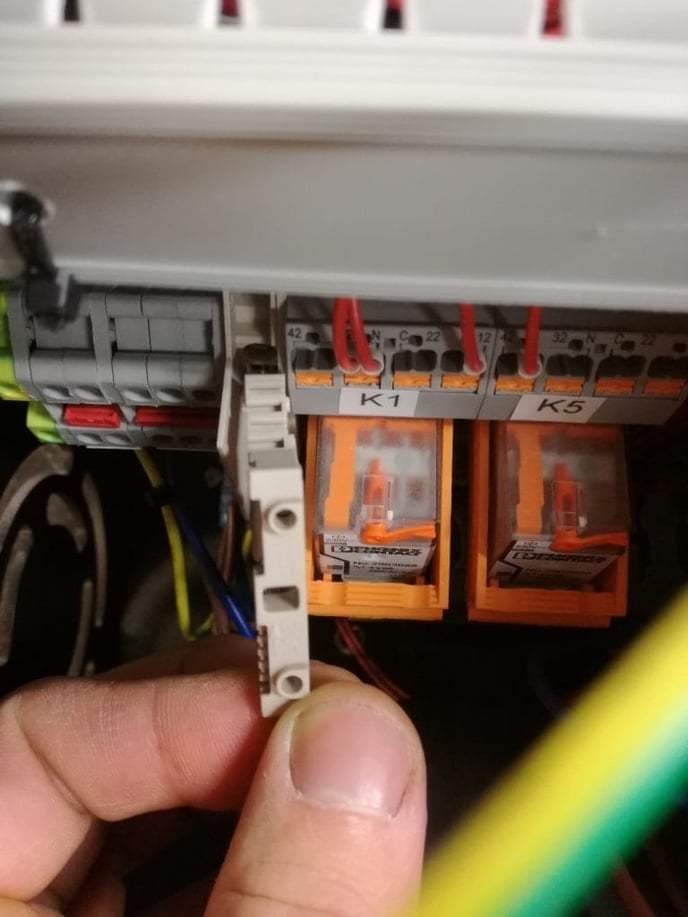
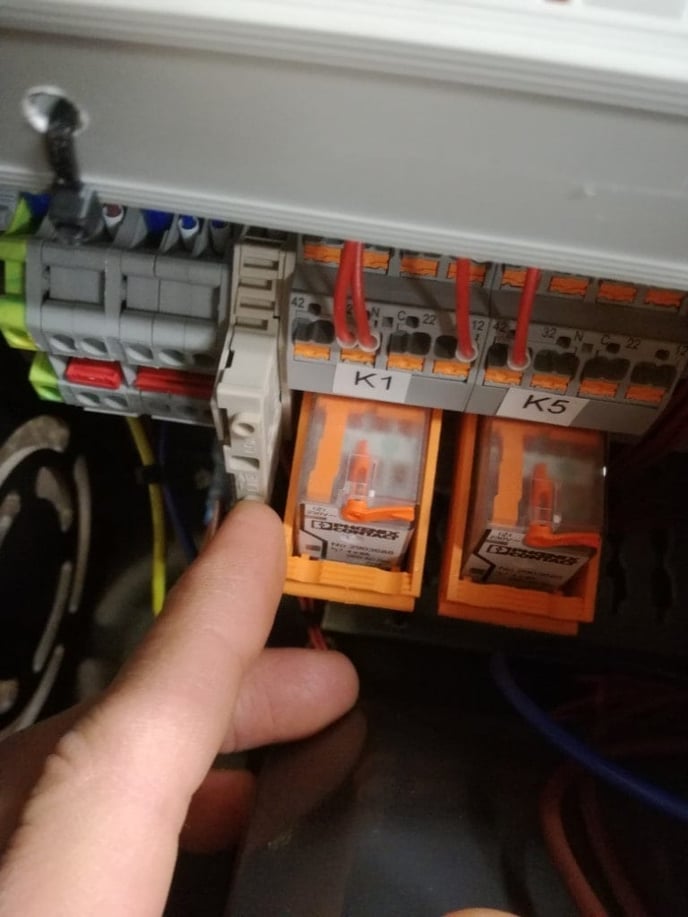
After this you can place the fuse holder back in the machine.
 |
 |
The top cover can be placed back on the machine and secured with the 8 bolts.
