
Tools required
- cut resistant gloves
- 5mm Allen key
- 3mm Allen key
- Loctite 243
![]() Warning
Warning
Always wear cut-resistant gloves when working around and inside the cutting chamber.
Instructions
The granulator knives are wear components, they will become blunt after processing for a long time. When processing very hard materials or non-plastics the life span of the knives is drastically reduced.
In this case, replacing or adjusting them is necessary to have the optimal efficiency.
To ensure an equal gap between the rotary knives and the stationary knives, it is important that the cutting edges of all the rotary knives are on the same imaginary cylindrical cutting face. The easiest way to do this is to;
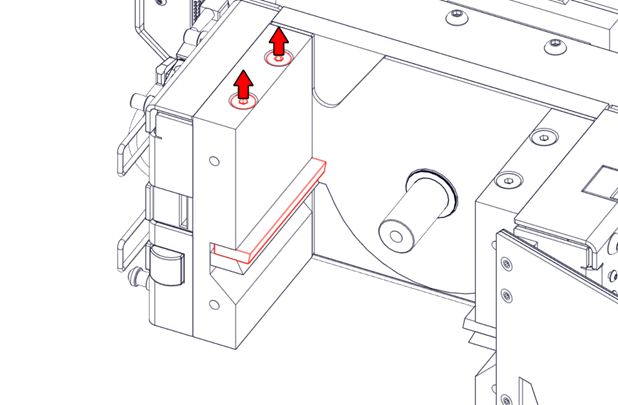
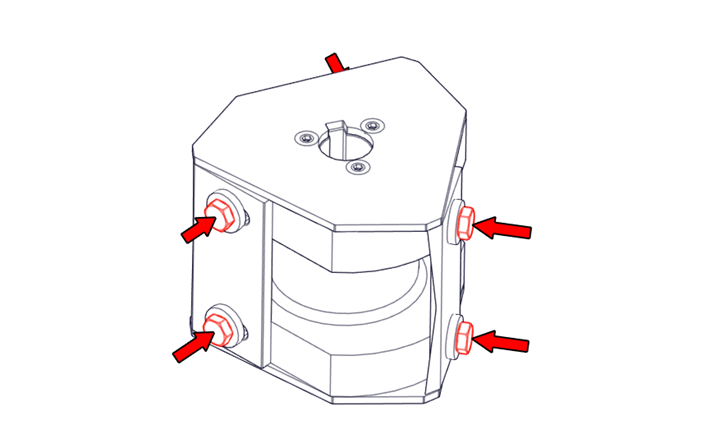
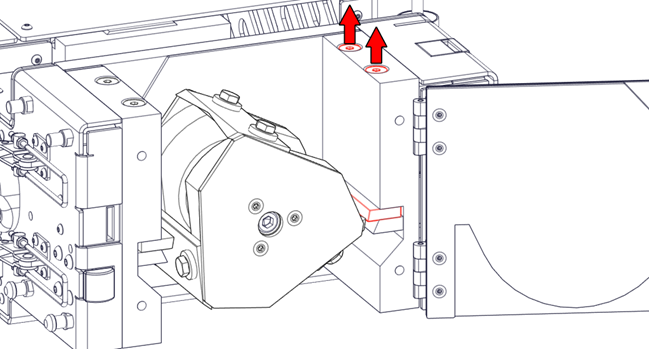
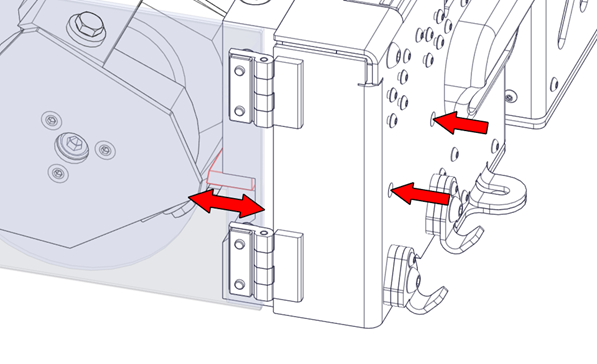
- In the case of a GP20 Hybrid, the GP20 Shredder should be lifted off GP20 Granulator first in order to gain access to the bolts responsible for holding the stationary knives in position
- The initial position of the left stationary knife is important.
If it is too much to the left, the rotary knives can crash into the filter screen. If it is too much to the right, the gap between de rotary knives and the filter screen will be too big reducing cutting efficiency.
- Loosen the two M8 bolts using a 5mm Allen key in order to adjust the left Stationary knife.
- Adjust the position of the left Stationary knife by tightening or untightening the set screws from the side using a 3mm Allen key.
 |
A good starting point is to offset the cutting edge of the stationary knife by 10mm with respect to the block it is mounted on.
3. Use the two set screws to carefully manipulate the left stationary knife.
4. Fix the left stationary knife in position by tightening the two bolts on top of the machine. Make sure the stationary knife does not move while tightening.
 |
 |
The left stationary knife can now be used as a reference for adjusting the rotary knives
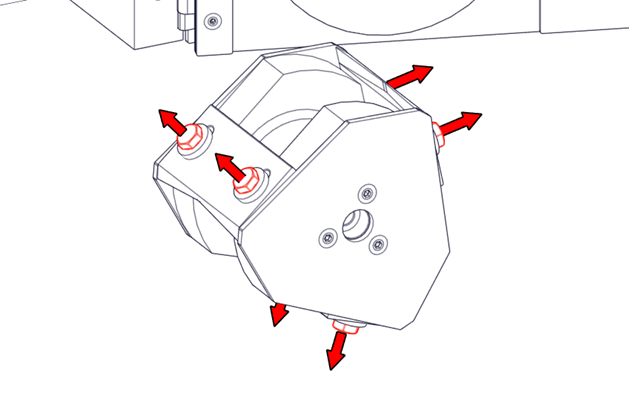
Remove the rotor as instructed here: How to remove and install the GP20 Granulator rotor- Slightly loosen the hexagon bolts of the rotary knives so that the rotary knives are free to slide along the surface.
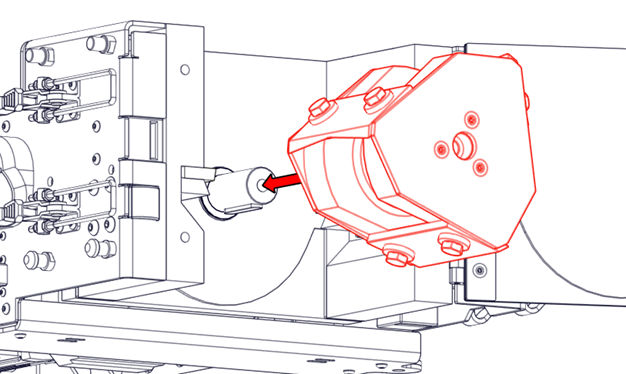
- Place the rotor with the free-moving rotary knives back in the machine and lock it on the shaft.
Note
Ensure you have the Loctite 243 available before removing the rotor from its place and loosening the hexagon bolts of the rotary knives. The Loctite has to be re-applied to ensure they remain in place during operation.
 |
 |
Manually turn the rotor so that the cutting edge of one rotary knife is touching the cutting edge of the left stationary knife. Use a thin piece of paper or set the right gap between the rotary knives and the left stationary knife.
- Carefully tighten the bolts. (Do not tighten the bolts fully!)
- Do the same for the other rotary knives.
 |
- Insert the filter screen to check that the knives are not scraping along the filter screen. If everything is correct, remove the filter screen again.
Important instructions to properly tighten the rotary knife bolts
Carefully remove the Rotor again and place it on a workbench. Follow the steps below carefully:- Remove one of the bolts of one rotary knife, while the remaining bolt keeps the knife in place.
- Apply a fair amount of Loctite 243 on the end of the bolt.
- Insert the bolt and tighten it fully.
- Remove the other bolt of the same knife, and apply Loctite 243 to this bolt.
- Insert the bolt and tighten it fully. The knife is now secured into place.
- Repeat the previous steps for the other two rotary knives.
![]() Caution
Caution
Ensure to not forget to apply the Loctite to the center bolt before reinserting it into the machine. Skipping this step may lead to excessive machine damage.
 |
- Place the rotor back in the machine
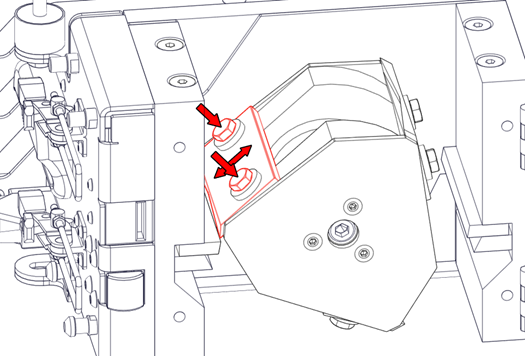
- Loosen the two M8 bolts using a 5mm Allen key in order to adjust the right stationary knife.
 |
- Use a 3mm Allen key on the right side of the machine to adjust the right stationary knife with respect to the rotary knives. Use a thin piece of paper to set the right gap.
- Carefully tighten the bolts on top without moving the stationary knife.
 |
 |
- Check the gaps by manually turning the rotor.
- Place the filter screen and check for any collisions with the knives.
- Take the M10x70 bolt and apply a fair amount of Loctite 243 to the end of it.
- Fix the rotor in place with a M10x70 bolt using an 8mm Allen key.
![]() Caution
Caution
Ensure to not forget to apply the Loctite to the center bolt before reinserting it into the machine. Skipping this step may lead to excessive machine damage.
![]() Caution
Caution
Loctite 243 requires a few hours to dry, so during the first 24 hours, you can run the machine empty for a few minutes to ensure it operates perfectly. Avoid operating the machine with materials during this time.
 |
Continue reading
Re-install the filter screen and lock the Granulator door to finalize the procedure.