
For certain maintenance procedures (such as changing a nozzle), you will need to remove the top hood of the Filament Maker.
Download the full guide in PDF format, or read through the article below.
Overview |
|
|
|
This procedure is required to access some internal parts of the machine, such as the barrel and nozzle of the machine. |
Tools required
Parts required
|
|
|
ELECTRIC SHOCK
|
||

Step 1: Place the machine safely
![]() Warning
Warning
Before starting this procedure, make sure you disconnect your Filament Maker power cable from electricity.
To prevent spilling material, ensure the hopper is empty.
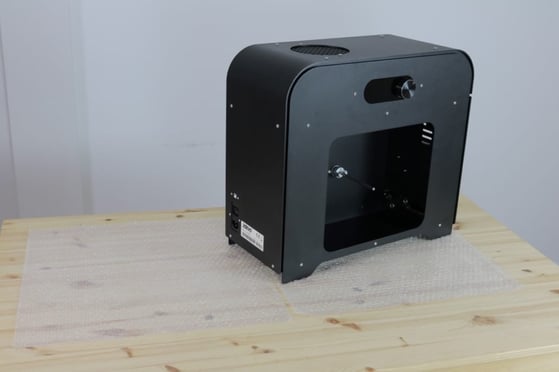
Place the machine on a flat surface, for example a table. Place the machine on something like a cloth or piece of plastic so that the machine remains undamaged.
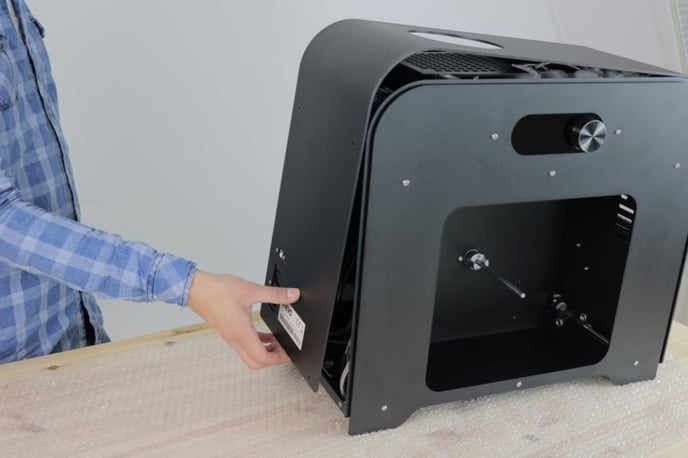
Step 2: Remove the screws
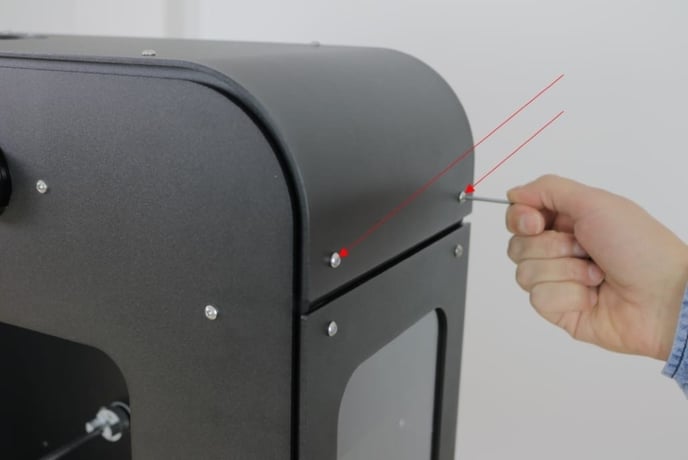
Use hex key 2,5 to remove M4 bolts from the following places:
- On the front of the machine there are two bolts that must be removed, indicated by the two red arrows.
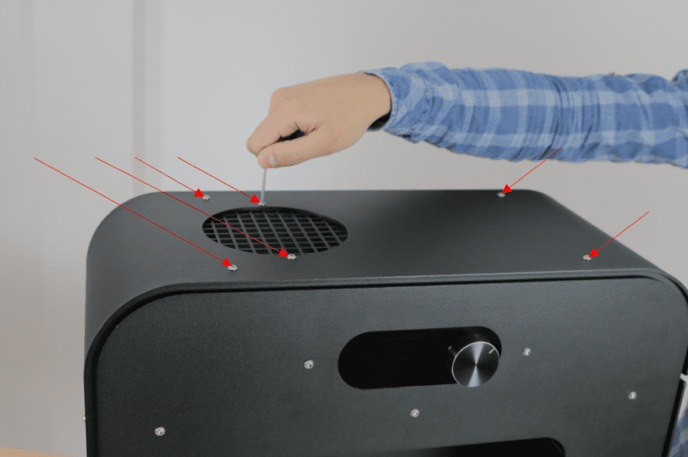
- On the top of the machine six bolts must be removed, indicated by the six red arrows.
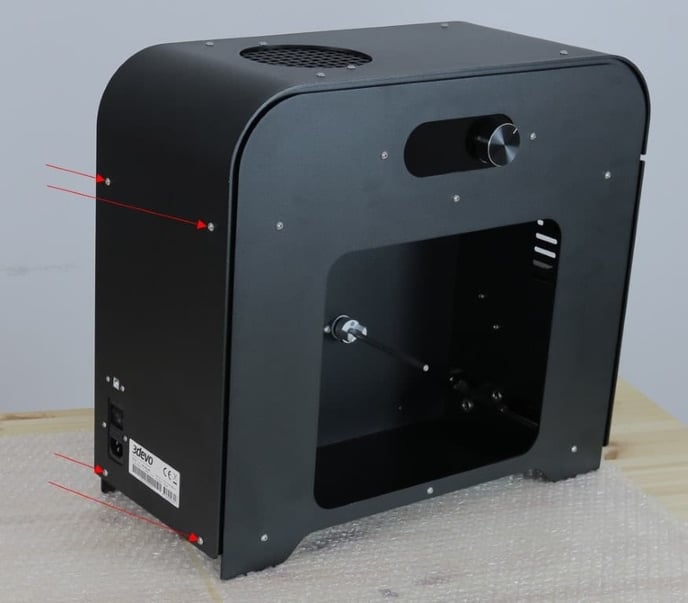
- On the back of the machine four bolts must be removed, indicated by the four red arrows.
 |
 |
 |
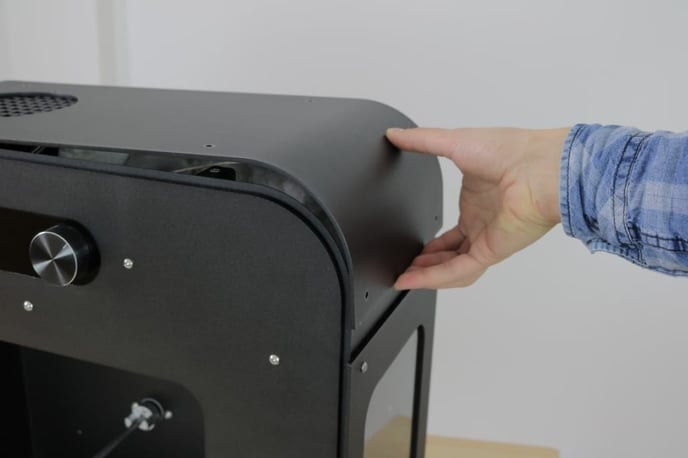
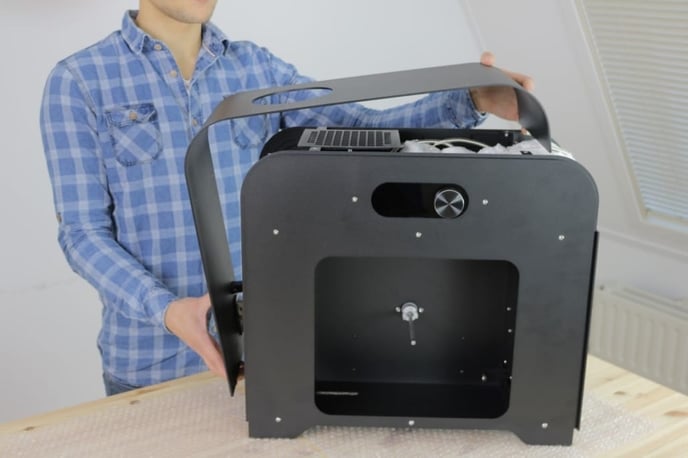
Step 3: Lift the top hood
Remove top hood and place edge of the top hood on the soft surface.
Caution:
The power cable is still connected to the top hood of the machine. Do not put any excessive stress on the cable, when lifting the top hood.
 |
 |
 |
 |